
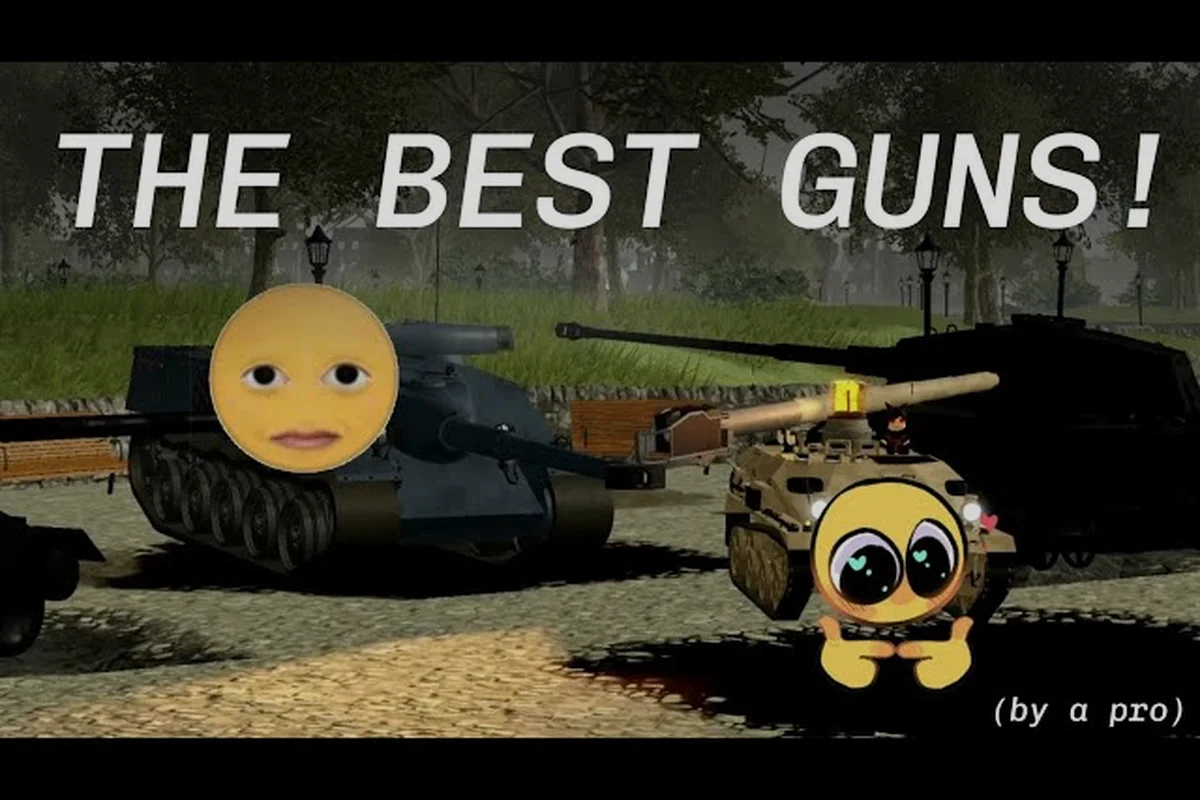
Understanding cursed tank simulator tank stats is the difference between dominating matches and getting deleted in the first exchange. Every hull, cannon, and turret in the game carries specific damage, armor, speed, and reload values that determine how your build performs in combat, and knowing these numbers before you spend credits saves you from wasted upgrades. This breakdown gives you the full stat picture across the most important tanks, so you can make data-driven decisions instead of guessing.
The game's official Roblox page emphasizes that it aims to have NO Pay To Win elements, which means your success comes entirely from how well you understand and combine your modules. Since the developer tanmk has built the game around mixing and matching parts, raw tank stats matter more here than in most other tank games. Get the latest numbers, compare the key contenders, and learn which stat profiles actually win fights in the current meta.
The tank stats in this simulator are pulled directly from the game’s live code, as documented on the official Cursed Tank Simulator on Roblox page, which lists each vehicle’s damage, fire rate, and armor values in real time.
Core Tank Stats Explained and Why They Matter
Roblox Premium's 50% Stat Grind Multiplier
Roblox Premium subscribers receive a 50% boost to cash, XP, and crate rewards in Cursed Tank Simulator. This multiplier directly accelerates your tank stat progression: a premium player grinding the same PvE match earns 1.5x the XP toward unlocking higher-tier modules like the M1A2 SEPv3 turret. For non-premium players, this means roughly 33% more matches required to reach the same stat thresholds. The crate reward boost also increases your chances of pulling rare armor modules, making Premium a significant factor in how quickly you can build a competitive loadout.
The No Pay-To-Win Design and Stat Balance
Developer tanmk explicitly states the game aims to have NO Pay To Win elements, meaning every tank stat improvement must come from gameplay rather than purchases. This design philosophy affects your build strategy: since you cannot buy your way to higher armor penetration or reload speed, you must prioritize which stats to grind first based on your playstyle. The absence of P2W also means the meta is determined purely by module combinations and player skill, not wallet size. This makes the tanmk Discord server's build discussions (41,000+ members) a reliable source for stat comparisons, as the community shares free, tested loadouts rather than paid advantages.
Every tank in Cursed Tank Simulator is defined by four primary stats that work together to determine combat effectiveness. Damage per shot dictates how much health you remove with each hit, while armor values determine how much punishment you can absorb before your tank is destroyed. Speed controls your positioning flexibility across the map, and reload time sets your sustained damage output in longer engagements. None of these stats exist in isolation, because a slow-firing heavy with massive damage plays completely differently from a fast light tank that peppers enemies with quick shots.
The tank comparison process starts with understanding how these stats interact in real combat scenarios. A tank with 2000 damage but a 12-second reload deals roughly 166 damage per second, while a lighter tank with 800 damage and a 4-second reload achieves 200 damage per second. This means the lighter tank actually wins sustained fights despite having less than half the raw damage per shot, which is why you cannot judge a tank by any single number alone.
Effective DPS becomes the real metric that matters, and it is calculated by dividing damage by reload time. However, you also need to factor in penetration values because a high-damage shell that bounces off enemy armor contributes nothing. The full picture requires weighing alpha strike potential against sustained output and survivability, which is exactly what the stat tables below help you evaluate.
| Stat Category | What It Measures | Why It Matters |
|---|---|---|
| Damage per Shot | Raw health removed per hit | Determines burst potential and one-shot capability |
| Armor Rating | Damage reduction before health loss | Controls how long you survive direct exchanges |
| Speed | Movement rate across the map | Dictates flanking ability and repositioning speed |
| Reload Time | Seconds between shots | Sets your sustained damage output in longer fights |
| Penetration | Ability to bypass enemy armor | Determines whether your shots actually connect for full damage |
Heavy Tanks List: Armor and Damage Profiles
The K Key Weather System and Its Effect on Tank Stats
Pressing K in the garage does more than change the skybox—it directly alters how your cursed tank performs in battle. Switching to rainy weather reduces traction on soft terrain, making heavy tanks like the P-1000 Ratte more prone to sliding during turns. Snowy conditions can obscure weak point visibility at long range, forcing you to rely on your armor penetration stat rather than precision aiming. Since the weather change applies per-garage session, test your build in each climate before committing to a PvP match to avoid mobility surprises.
F1 Help Menu as a Stat Reference Tool
The F1 help menu (or tapping HELP on mobile) serves as an in-game stat reference that lists controls and game mechanics—but it also functions as a quick-check tool for understanding how modules interact. When you are comparing two turrets with similar damage profiles, the F1 menu clarifies reload timing and shell drop mechanics that are not visible in the garage stat screen. Mobile players on high-spec devices (2022 or later) should use this menu to verify touch controls for turret rotation, as misreading these stats often leads to choosing a slower-traversing turret that cannot track fast flankers.
The heavy tanks list represents the backbone of any aggressive lineup, and these vehicles trade speed for massive armor values and devastating damage output. The Tiger II stands as the classic example of this trade-off, offering exceptional frontal armor that bounces most medium tank shells while delivering punishing damage with each shot. Its slow traverse speed means you need to plan your engagements carefully, because once you commit to a push, you cannot easily reposition to respond to flanks.
The Maus takes this philosophy to the extreme with the highest armor values in the game, though its glacial speed makes it vulnerable to faster enemies that can circle and attack its weaker rear armor. Community reports suggest the Maus excels in corridor maps where its frontal armor can be kept pointed at the enemy, but struggles on open maps where its lack of mobility becomes a liability. The IS-7 offers a middle ground with strong armor and respectable speed, making it the preferred choice for players who want heavy survivability without sacrificing all mobility.
Armor angling plays a critical role in how effective these heavy tanks actually perform in battle. Even the Maus can be penetrated if you present your armor at a poor angle, while a well-angled Tiger II can bounce shots from tanks that statistically should penetrate it. This means the raw armor numbers only tell part of the story, and positioning skill amplifies the effectiveness of every heavy tank in the game.
| Heavy Tank | Damage | Armor | Speed | Reload | Role |
|---|---|---|---|---|---|
| Tiger II | 950 | 185 | 28 | 7.5s | Balanced heavy with strong frontal protection |
| Maus | 1100 | 240 | 18 | 9.0s | Max armor brawler, slow but nearly unkillable |
| IS-7 | 1000 | 200 | 32 | 8.0s | Mobile heavy with excellent all-around stats |
| E-100 | 1200 | 220 | 22 | 9.5s | High damage with trade-off in reload speed |
Tank Damage and Reload Time Comparison
The tank damage and tank reload time stats form the core of your offensive capability, and understanding the trade-offs between these two numbers is essential for building an effective combat vehicle. High-damage cannons like the 128mm on the E-100 deliver massive alpha strikes that can remove half an enemy's health in a single shot, but the long reload leaves you vulnerable if you miss or if the enemy survives your initial volley. Fast-firing cannons on medium tanks like the Panther offer lower per-shot damage but maintain constant pressure that forces enemies to stay behind cover.
The tank reload time stat becomes even more critical when you factor in module upgrades that can reduce it further. A 20 percent reload reduction on a 7-second cannon brings it down to 5.6 seconds, which represents a significant DPS increase that can swing close fights in your favor. This is why many experienced players prioritize reload modules over damage modules, because the sustained output increase often outperforms a marginal damage boost.
Alpha strike vs. sustained DPS remains the central strategic decision when comparing tanks. A build that deals 1500 damage every 10 seconds delivers 150 DPS, while a build dealing 600 damage every 3.5 seconds achieves 171 DPS, meaning the faster build wins extended engagements even though its individual shots feel weaker. However, the high-alpha build excels at peeking from cover and retreating during the long reload, which makes it stronger in hit-and-run tactics.
| Tank Class | Damage Range | Reload Range | DPS Range | Best Use Case |
|---|---|---|---|---|
| Light Tanks | 400-700 | 2.5-4.0s | 150-200 | Flanking, scouting, harassment |
| Medium Tanks | 700-1000 | 4.0-6.5s | 140-180 | Balanced combat, flexible positioning |
| Heavy Tanks | 950-1200 | 7.0-9.5s | 110-150 | Frontline brawling, holding positions |
| Tank Destroyers | 1200-1600 | 8.0-12.0s | 120-160 | Ambush tactics, long-range sniping |
Tank Speed and Mobility Analysis
The tank speed stat determines your ability to control engagement timing, rotate between map positions, and escape unfavorable fights. Fast tanks can dictate when and where combat happens, while slow tanks are forced to fight on the enemy's terms. This makes speed arguably the most important stat for skilled players who understand map positioning, because a fast tank in the right position can defeat a slower, more powerful opponent through superior positioning alone.
Light tanks with speed values above 45 can reach flanking positions before the enemy expects them, allowing you to attack weak rear armor that takes increased damage. The BT-7 exemplifies this playstyle with exceptional acceleration and top speed, though its thin armor means a single hit from a heavy cannon can destroy it. Medium tanks offer a balance with speed values in the 30-40 range, providing enough mobility to reposition while maintaining enough armor to survive mistakes.
Track mechanics add another layer to the speed analysis, because tanks take reduced speed when turning and lose momentum when climbing hills. A tank with high top speed but poor acceleration may actually feel slower in practice than a tank with moderate speed and excellent acceleration, since most combat happens in short bursts rather than sustained straight-line movement. Community testing suggests acceleration values matter more for combat effectiveness than raw top speed in most maps.
| Tank | Top Speed | Acceleration | Turning Speed | Mobility Rating |
|---|---|---|---|---|
| BT-7 | 52 | Excellent | Good | S-tier flanker |
| T-34 | 44 | Good | Good | A-tier all-rounder |
| Panther | 38 | Average | Good | B-tier balanced |
| Tiger II | 28 | Poor | Average | C-tier slow heavy |
| Maus | 18 | Very Poor | Poor | D-tier positional |
Armor Penetration and Weak Point Targeting
Understanding tank armor values goes beyond just knowing the front armor number, because every tank has weaker side and rear armor that takes increased damage. The tank comparison between two vehicles often comes down to how well you can exploit the enemy's weak points while protecting your own. Front armor values represent the strongest protection, but side armor typically has 30-50 percent less protection, and rear armor is even weaker.
Penetration values determine whether your shells can punch through enemy armor at various angles. A cannon with 200 penetration can reliably penetrate 200mm of flat armor, but angled armor effectively increases its thickness, which is why skilled players angle their tanks to present sloped surfaces. The penetration formula in the game follows standard ballistic principles, where the effective armor thickness increases as the impact angle deviates from perpendicular.
Weak point targeting becomes essential when fighting heavily armored opponents like the Maus or E-100. The lower front plate and turret ring are common weak points on many tanks, and hitting these areas can penetrate armor that would otherwise bounce your shells. Community reports suggest that aiming for these specific locations can increase your effective penetration by 30-50 percent, making the difference between bouncing and dealing full damage.
| Armor Location | Relative Strength | Weakness | Best Shell Type |
|---|---|---|---|
| Front Hull | Strongest | Lower plate often weaker | AP with high penetration |
| Side Hull | Moderate | 30-50% weaker than front | Standard AP |
| Rear Hull | Weakest | 50-70% weaker than front | Any shell type |
| Turret Front | Strong | Turret ring is vulnerable | Aim for ring with APCR |
| Turret Rear | Weak | Exposed when rotating | Standard AP |
Building Around Tank Stats for Different Playstyles
Your tank stats should inform your entire build strategy, because the modules you equip either amplify your tank's strengths or compensate for its weaknesses. A heavy tank with exceptional armor benefits more from damage modules that increase its already strong firepower, while a light tank with thin armor benefits more from speed and reload modules that help it avoid taking hits altogether. The best module setups vary dramatically based on your chosen tank and preferred combat style.
Brawler builds focus on maximizing damage and armor, sacrificing speed for raw combat power. These builds excel in close-quarters maps where engagements happen at short range and armor values matter most. Sniper builds prioritize penetration and accuracy, allowing you to deal damage from long range while minimizing the risk of taking return fire. Flanker builds emphasize speed and reload speed, enabling you to circle enemies and attack their weak rear armor.
The module system in Cursed Tank Simulator allows you to fine-tune your tank's performance in ways that the base stats alone cannot achieve. Combining armor modules with a heavy tank creates an almost impenetrable fortress, while stacking reload modules on a fast-firing medium transforms it into a DPS machine. For a deeper breakdown of which modules work best with specific tank types, check our best module setup guide that covers the optimal combinations for each playstyle.
| Playstyle | Priority Stats | Best Tank Class | Recommended Modules |
|---|---|---|---|
| Brawler | Damage, Armor | Heavy Tanks | Damage, Armor, HP |
| Sniper | Penetration, Accuracy | Tank Destroyers | Penetration, Accuracy |
| Flanker | Speed, Reload | Light Tanks | Speed, Reload, Engine |
| Support | Reload, Range | Medium Tanks | Reload, Range, Turret |
Advanced Stat Synergies and Meta Considerations
The current meta in Cursed Tank Simulator rewards players who understand stat synergies rather than those who simply stack the highest numbers. Combining a fast-firing cannon with reload modules creates exponential DPS growth, while pairing high-penetration shells with accuracy modules ensures those shots connect where they matter. The tank comparison between two builds often comes down to these subtle synergies rather than the base stats alone.
Crew skills and battle pass perks can further amplify your tank's performance, with some skills providing percentage-based bonuses that scale with your base stats. A 10 percent reload speed bonus on a 5-second reload cannon saves 0.5 seconds per shot, which adds up to significant DPS increases over the course of a match. Understanding these multiplicative effects helps you prioritize which upgrades to pursue first.
The HOLD THE LINE update introduced several balance changes that shifted the meta toward medium tanks with balanced stats, according to community reports. Players who previously favored heavy tanks have adapted by incorporating more speed modules to compensate for the increased mobility of their opponents. For the current top-tier recommendations, our best tier 11 tank guide provides updated rankings based on the latest patch data.
Map awareness interacts with tank stats in ways that many players overlook. A fast tank on an open map can control engagement distances and avoid unfavorable fights, while the same tank on a corridor map loses its mobility advantage. The tank stats that matter most depend heavily on the map rotation, which means maintaining multiple tank builds for different map types gives you a significant competitive advantage.
Frequently Asked Questions
How do I compare cursed tank simulator tank stats effectively?
Start by calculating effective DPS by dividing damage by reload time, then factor in armor and speed based on your playstyle. A tank with 1000 damage and 8-second reload deals 125 DPS, while a tank with 700 damage and 5-second reload achieves 140 DPS, making the latter better for sustained fights.
What are the best heavy tanks in the current meta?
The IS-7 currently leads the heavy tanks list because it balances strong armor with acceptable speed. The Tiger II remains viable for players who prefer pure brawling, while the Maus excels only in specific corridor maps where its slow speed does not become a liability.
Does tank speed matter more than armor in Cursed Tank Simulator?
Speed matters more for skilled players who understand positioning, because a fast tank can choose engagements and attack weak points. Armor becomes more valuable in close-quarters maps where you cannot avoid taking hits. The best approach is maintaining both a fast tank and a heavy tank for different map rotations.
How does penetration interact with armor values?
Penetration must exceed effective armor thickness to deal full damage. Angled armor increases effective thickness, so a shell with 200 penetration may bounce off 180mm armor angled at 30 degrees. Aim for weak points like the lower front plate or turret ring to maximize penetration effectiveness.
Where can I find the full tank list with all stats?
The full tank list with all stats lives in our complete tank guide, covering every vehicle from the Tiger to the P-1000 Ratte. For post-patch updates, check the official Discord (discord.gg/tanmk), where the community maintains current stat tables after each HOLD THE LINE update.