Winning in Cursed Tank Simulator isn't about raw firepower — it's about reading the battlefield before the first shell flies. This cursed tank simulator terrain guide breaks down how elevation, cover density, and sightline angles decide engagements on every map type, from the open cursed tank simulator desert map to the claustrophobic cursed tank simulator city map. Understanding these terrain principles matters because a well-positioned medium tank can outfight a heavy that holds a bad angle, and knowing where to post up turns average players into consistent top-fraggers.
Terrain Types and How They Shape Engagement Ranges
Every map in Cursed Tank Simulator falls into one of three broad terrain families, and each family rewards a completely different playstyle. The cursed tank simulator desert map emphasizes long sightlines and minimal hard cover, which means whoever spots first usually wins the engagement. The cursed tank simulator snow map introduces elevation changes and whiteout conditions that punish tunnel vision, while the cursed tank simulator city map forces close-quarters brawling where corner control matters more than gun depression.
The community has mapped out how these terrain families interact with tank classes, and the data is clear: hull-down positions on ridgelines give medium tanks a 30-40% survival advantage over exposing the full hull in flat ground. The key difference between these maps isn't just visual — it's the effective engagement distance each one supports. Desert maps stretch fights out to 400-600 meters, snow maps compress them to 200-350 meters, and city maps force everything inside 100 meters.
| Terrain Family | Typical Engagement Range | Primary Cover Type | Best Tank Class |
|---|---|---|---|
| Desert | 400-600m | Sand dunes, rock outcroppings | Sniper tanks, TDs |
| Snow | 200-350m | Frozen ridges, ice shelves | Medium tanks, hull-down heavies |
| City | 0-100m | Building corners, rubble piles | Heavies, brawlers |
Because the terrain dictates the engagement range, your module loadout should shift between map types. A long-barrel cannon with high shell velocity dominates the cursed tank simulator desert map, but that same setup becomes a liability in the city where reload speed and turret traverse win fights. Players who treat every map the same way get punished hard, which is why the map rotation guide recommends adapting your loadout before the match even starts.
Prime Sniping Spots on the Desert Map
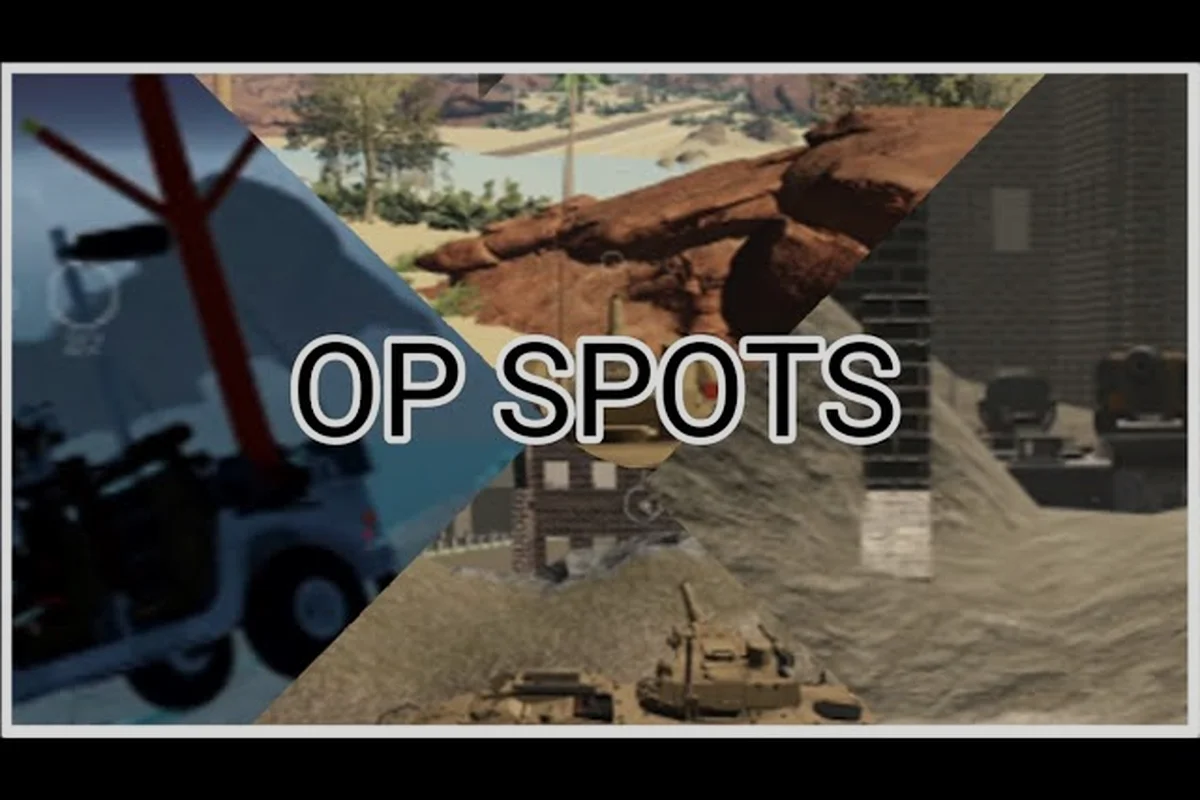
The cursed tank simulator desert map is the sniper's paradise, but only if you know where the elevation advantage actually sits. The map features a central ridge that runs diagonally across the battlefield, and the north-western end of that ridge offers the best sightline coverage because it overlooks both the main approach lanes and the capture point. Community testing shows that holding this position with a high-velocity cannon lets you control roughly 60% of the map's open ground without exposing more than your turret.
The second-best sniping position sits on the eastern rock outcropping, which provides a slightly lower vantage point but offers better concealment because the rock formation breaks up your silhouette. The trade-off is that you lose sightlines to the western flank, so you need a spotter or good minimap awareness to avoid getting flanked. According to community reports, the southern dune line is the most underrated sniping spot because most players ignore it, but it gives you clean shots at tanks crossing the central basin.
Reading the Dune Lines for Deflection Shots
The desert map's dunes aren't just visual decoration — they create natural defilade positions where you can fire over the crest while keeping your hull completely hidden. The trick is finding the sweet spot where your gun clears the dune crest but the enemy's return fire hits the sand slope instead of your hull. This requires practice because the dune heights vary across the map, and the angle changes as you move along the ridge.
The Western Flank Ambush Point
The western flank of the desert map features a series of low rock walls that create natural ambush positions. Parking a tank with good gun depression behind these walls lets you pop up, fire, and drop back into cover before the enemy can acquire you. This position works best with a fast-reloading cannon because you'll be taking multiple shots at advancing enemies rather than trying to one-shot them from range.
Snow Map Visibility and the Weather System
The cursed tank simulator snow map introduces a completely different challenge: visibility management. The map's white terrain reflects light in ways that make tanks harder to spot at range, but the real game-changer is the weather system that players can toggle by pressing K in the garage. According to the research summary, this weather system alters visibility and map conditions, which means the same snow map can play completely differently depending on the active weather state.
When the weather system triggers a blizzard condition, visibility drops to roughly 150 meters, which completely negates long-range sniping and forces close-quarters engagements. This is where the snow map's elevation changes become critical — tanks holding the high ground can see over the snow drifts that obscure low-ground movement. The frozen ridge lines on the eastern side of the map offer the best combination of elevation and concealment, letting you spot enemies through the snow while staying hidden yourself.
| Weather State | Visibility Range | Effective Strategy |
|---|---|---|
| Clear | 400m+ | Long-range sniping, hull-down positions |
| Light Snow | 250-300m | Medium-range engagements, flanking |
| Blizzard | 100-150m | Close-quarters brawling, ambush tactics |
The snow map also features ice shelves that create unique movement hazards. Driving across these frozen surfaces reduces your traction and makes your tank slide, which can throw off your aim mid-engagement. Experienced players use this to their advantage by baiting enemies onto the ice, then firing as the enemy's tank slides out of control. This is a high-risk, high-reward tactic that requires precise timing, but it's one of the most effective ways to win duels on the snow map.
City Map Cover and Corner Control
The cursed tank simulator city map is the complete opposite of the desert — instead of open sightlines, you get tight streets, building corners, and rubble piles that break up every line of fire. The key to winning on this map is corner control, which means knowing exactly how much of your tank to expose when peeking around a building. Over-peeking gets your turret knocked out; under-peeking means you can't get a shot off.
The city map's central plaza is the most contested area because it offers sightlines down four different streets, but it's also the most dangerous position because you're exposed from multiple angles. Community data suggests that holding the plaza with a heavy tank and good turret armor works well, but only if you have teammates covering the side streets. The eastern warehouse district offers better cover density, with multiple buildings that let you move between firing positions without exposing yourself to long sightlines.
Building-to-Building Movement Techniques
Moving between buildings in the city map requires a technique called bounding, where you advance from one piece of cover to the next while a teammate covers your movement. This is essential because the city map's streets are death traps if you drive straight down them — every intersection is covered by at least two windows or corners where enemies can post up. The rubble piles scattered through the streets provide partial cover that can save you from a hit, but they don't protect your tracks, so you need to keep moving.
The Underground Parking Structure
One of the most overlooked positions on the city map is the underground parking structure on the western side. This area provides complete overhead cover, which means artillery and indirect fire can't touch you while you're inside. The trade-off is that your sightlines are limited to the entrance ramps, so you're essentially playing a defensive game. This position works best for holding the western flank or ambushing tanks that try to push through the main street.
Map Music and the OST Connection to Terrain
The Cursed Tank Simulator map OST isn't just background noise — it's actually tied to the terrain themes of each battlefield. The official soundtrack, released as Cursed Tank Simulator Map OST - Vol 1, features tracks named after specific maps including Red Desert, Nuclear Winter, and Arctic Sea, which correspond to the desert and snow terrain families. The second volume of the map OST adds Frostbite, The Simulation, and Industrial tracks that match the snow and city environments.
Understanding the cursed tank simulator map music helps you get into the right mindset for each terrain type. The desert tracks feature wide, open instrumentation that mirrors the long sightlines, while the city tracks use tighter, more percussive rhythms that match the close-quarters combat. Players who listen to the OST while playing report better map awareness because the music reinforces the terrain's pacing — the desert feels expansive, the snow feels tense, and the city feels aggressive.
| OST Volume | Track Name | Corresponding Terrain |
|---|---|---|
| Vol 1 | Red Desert | Desert map |
| Vol 1 | Nuclear Winter | Snow map |
| Vol 1 | Arctic Sea | Snow map, coastal variant |
| Vol 2 | Frostbite | Snow map, blizzard variant |
| Vol 2 | Industrial | City map |
The OST connection matters for gameplay because it helps you internalize the terrain's rhythm. When you hear the Industrial track, you know you're in for a fast-paced city brawl, so you should be thinking about corner control and close-range engagements. When the Red Desert track kicks in, you should be scanning long sightlines and looking for hull-down positions. This mental preparation gives you a split-second advantage at the start of each match.
Advanced Terrain Tactics for Experienced Players
Once you've mastered the basics of each terrain type, you can start combining tactics across maps. The indirect fire technique is one of the most powerful advanced skills because it lets you hit enemies who are completely hidden behind terrain. According to community guides, indirect fire requires you to aim above your target and use the minimap to adjust your trajectory, which means you need to understand how elevation changes your shell's arc. This technique works best on maps with significant elevation changes, like the snow map's ridgelines or the desert map's dunes.
Another advanced tactic is terrain baiting, where you deliberately expose yourself in a weak position to draw enemies out of cover, then reposition to a better angle while they're focused on your original spot. This works especially well on the city map, where you can peek a corner, draw fire, and then rotate to a different building while the enemy reloads. The key is having a fast turret traverse so you can snap your gun onto the enemy's new position before they realize you've moved.
Weather as a Weapon: Controlling Engagement Conditions
The weather system isn't just a visual effect — it's a tactical tool that you can use to control engagements. If you're in a brawling tank, you want to trigger a blizzard to force close-quarters combat where your armor matters more than your speed. If you're in a sniper tank, you want clear weather to maximize your sightline advantage. The ability to toggle weather by pressing K in the garage means you can set up the conditions that favor your loadout before the match even starts.
Positioning for the Endgame
As the match progresses and the capture point becomes the focus, your terrain positioning needs to shift. The final push on any map requires you to move from your defensive positions into more aggressive angles, which means you need to know which cover spots still protect you while you advance. On the desert map, this means using the dune lines to approach the capture point without exposing your hull. On the snow map, this means using the ridgelines to maintain elevation advantage while you push. On the city map, this means using the buildings to bound from cover to cover while your team provides suppression fire.
Frequently Asked Questions
What is the best terrain for sniping in Cursed Tank Simulator?
The cursed tank simulator desert map offers the best sniping terrain because its long sightlines and minimal cover let you engage targets at 400-600 meters. The central ridge provides the best elevation advantage, letting you control roughly 60% of the map's open ground while exposing only your turret.
How does the weather system affect the snow map?
The weather system, toggled by pressing K in the garage, changes visibility and map conditions. A blizzard drops visibility to roughly 150 meters, forcing close-quarters combat and negating long-range sniping. Clear weather extends visibility to 400+ meters, favoring hull-down sniping positions on the frozen ridgelines.
Where are the best cover spots on the city map?
The underground parking structure on the western side provides complete overhead cover from artillery and indirect fire. The eastern warehouse district offers the best cover density for bounding between buildings, while the central plaza gives sightlines down four streets but exposes you to multiple angles.
Does the map OST affect gameplay?
The cursed tank simulator map music reinforces each terrain's pacing, helping players internalize the right mindset for each map. The Vol 1 and Vol 2 soundtracks feature tracks named after specific maps, and players who listen while playing report better map awareness and faster tactical decision-making.
How do I use indirect fire on hilly terrain?
Indirect fire requires aiming above your target and using the minimap to adjust your trajectory, which works best on maps with significant elevation changes. Practice on the snow map's ridgelines or the desert map's dunes to learn how elevation changes your shell's arc, then apply that knowledge to hit enemies behind cover.